GROUPS AND PLACEMENT
Introduction
Floor planning and autoplacement are part of the advanced feature set and are only available in PCB Level 2 and higher.
Proteus includes a sophisticated auto-placer for footprints on the PCB. The basic workflow for this is :
- Designate schematic components into groups.
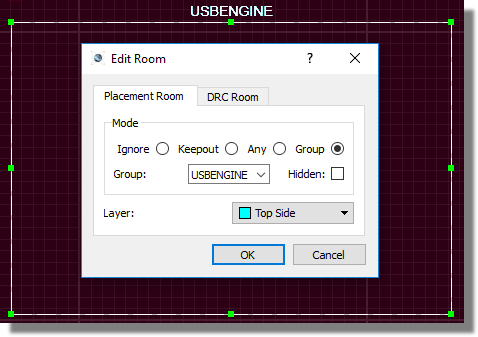
- Use Placement rooms on the empty PCB and assign the placement room to a group. This tells Proteus to try and put all the components in that group inside the placement room. Placement rooms can be polygonal and on either component or solder side of the board.
- Run the auto-placer command in the layout module.
Group and Placement Columns in Design Explorer
The Group column in design explorer lets you designate a placement group for a particular component. You can do this simply by typing in the group column entry beside a component.
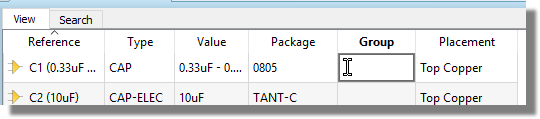
However, assuming the placement groups are close together on the schematic the best and by far the quickest way to do this is to use in conjunction with the search filters in design explorer. The process is described below.
1) On the schematic draw a selection box around the parts that belong in a placement group.
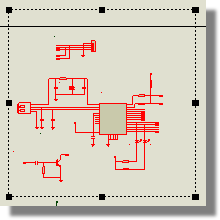
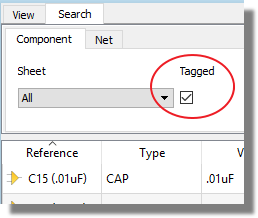
2) Use the search tab in design explorer, select tagged and then search to return the component list.
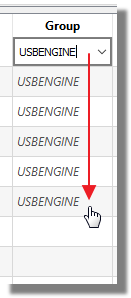
3) Enter the group name beside the first component and then drag the entry down (like you would in a spreadsheet tool) to fill out the other columns.
4) Place the room on the layout and associate with the group.
5) Run the auto-placer.
The placement column in design explorer shows you which components on the schematic have been placed on the layout and on which side on the board they are.
See Also:
For more information see the Autoplacement section in the Layout Reference Manual.