Access Control
Introduction
IoT Builder includes the ability to have different levels of access control on the front panel, enabling greater functionality for authenticated users. There are three steps to setting your front panel up with access control, namely:
- Add the login/logout control and set the password.
- Define the behaviour of the other controls when not authenticated.
- Handle the login and logout events in the firmware program
The Login Control
To set up a login control:
1. Add the login button from the 'Add IoT Control' command on the Project Menu. If you haven't already got a front panel one will be created for you and appear in the Project Tree.
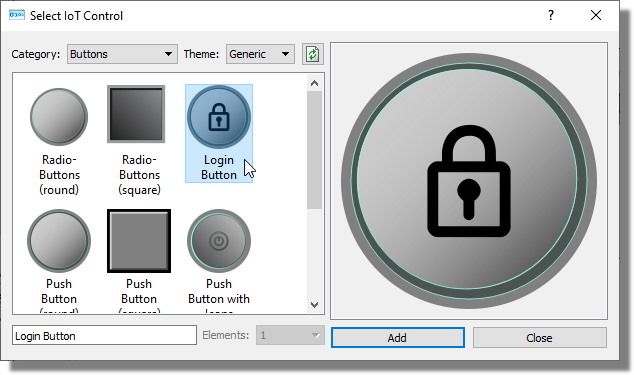
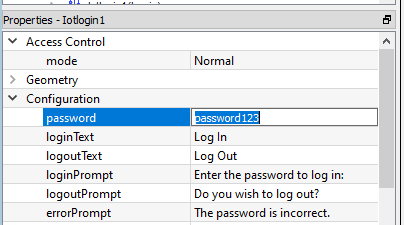
2. Place the Login button on the front panel, make sure it is selected and then change the password and prompt text as required.
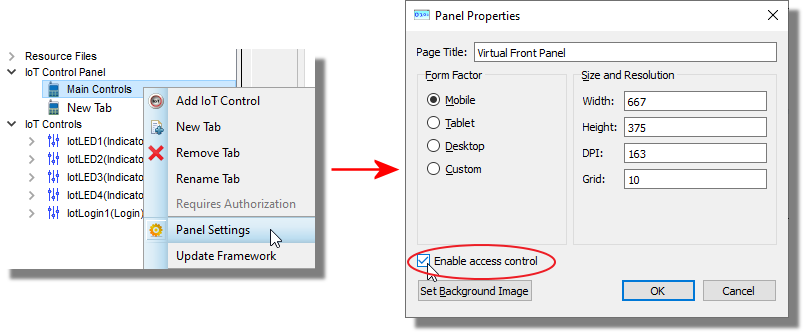
3. Turn on the Access Control. This is done by right clicking on the Panel > Panel Settings > Enable Access Control:
Access Control Behaviour
Once you have specified that you want access control you need to decide what the behaviour of the tabs and other controls on the front panel will be.
Tabs
A tab that requires authorisation will be hidden completely, along with all controls on the tab until you are logged in.
To require authorisation for a tab:
Right click on the tab in the Project Tree and select 'Requires Authorization':
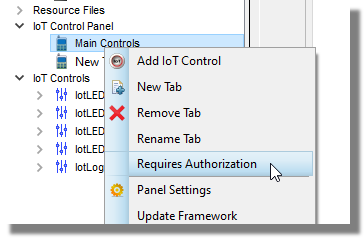
Controls
All controls default to normal behaviour when logged out. This means that they are both visible and enabled. You can change the state of a control to be either disabled or hidden via the property page for that control. This setting determines the behaviour of the control when a user is logged out.
To require authorisation for a control
Select the control in question (already placed on the panel) and change it's access control mode property to be either hidden or disabled.
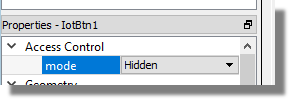
This is the mode that the control is in before you login. Once logged in, the control will return to be in state 'Normal'. So for example, if you wish for a switch to be shown only when you are logged in, you would place a switch on to the Panel, then set it to be hidden. It will then only appear once you have logged in.
Firmware
When the front panel is configured for access control you have a working system. Users can login/logout with a password and features in the user interface will become available based on user status. However, it's often useful for the firmware program to also know the status of the user and this is handled via two server events, namely the login and the logout events.
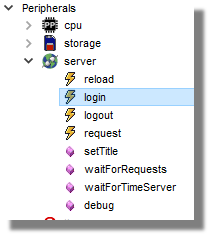
These can be dragged and dropped onto the flowchart in the usual way. The login event will be called automatically on a successful login and the logout event will be called automatically on a successful logout. Then if your program needs to know about user status you might set up an 'isAdmin' variable that you initialise to FALSE in the setup routine, set to TRUE in the login event and back to FALSE in the logout event.
Or, if you would like to display a message stating that the user has successfully logged out, you just add an info box into the logout event.
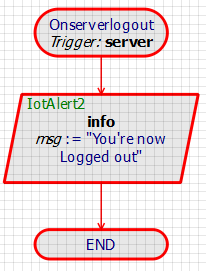
The server Reload method will force a user log out.
Simulation
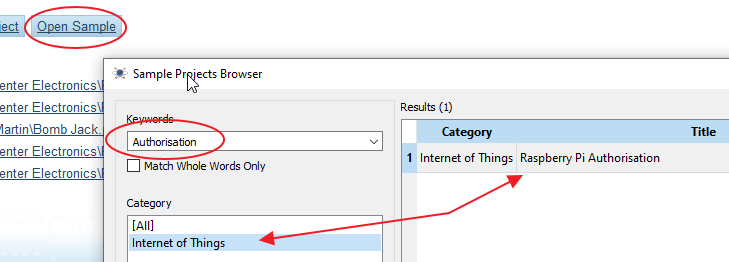
Press Play to run the simulation and you should see that your tabs that are authorized are not displayed, and any controls that are set to be hidden are also hidden. Click the Login button and enter the password you have set (password123 if you have not set one) and you should then see all tabs and controls in the project. A ready-made example project can be found in the sample designs: