OCCUPANCY DEFINITIONS
Overview
Each component that is placed on the board is treated as an obstacle for the remaining components to be placed. By default the area which is occupied by a component is the smallest box which contains all of its silk screen graphics and pins, together with the areas of its reference and value labels where those labels are visible. Any two such boxes may not touch or overlap.
Because the visible labels count towards the occupied area, hiding the value on a package shrinks its occupancy. This can be a useful way to tighten up placement on a crowded board.
It is quite feasible that you will wish to modify the area taken by an object such that, for example, a DIL package has additional space on the sides occupied by the pins, or that a connector has increased occupancy on one side only. To achieve this Proteus provides an Occupancy layer onto which 2D graphics may be drawn in much the same way as silk screen graphics are added.
Occupancy graphics are not normally seen but may be examined and edited by first decomposing the package, amending or adding graphics as necessary and then invoking the Make Package command on the Library menu.
To add an occupancy definition to a package
- Place a copy of the package on the layout.
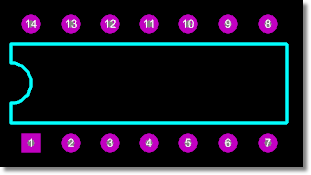
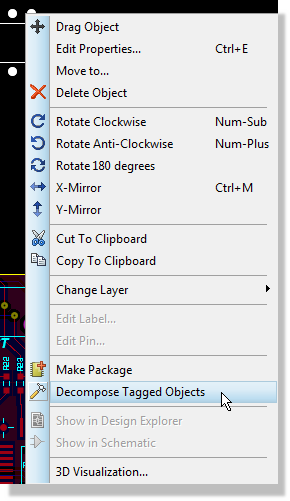
- Tag it and then invoke the Decompose Tagged Objects command, which is on the Library menu and also on the right click context menu.
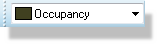
- Select the Occupancy layer in the Layer Selector.
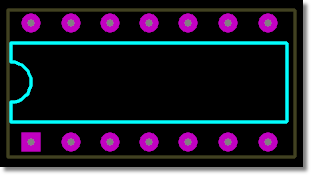
- Draw a box on the Occupancy layer covering the area you want the component to occupy.
- Tag all the elements of the package.
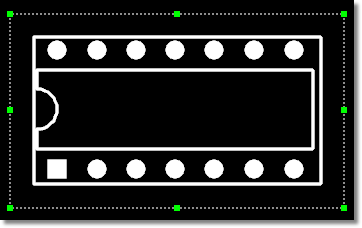
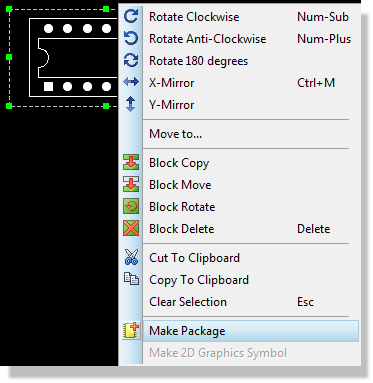
- Use the Make Package command, again on the Library menu or the right click context menu, to store your handiwork back into the library.
Whatever you draw on the Occupancy layer is reduced to a single enclosing rectangle before placement begins, so the practical advice is to draw one box of exactly the size you want. A circle behaves as the square that just encloses it; several shapes behave as the one rectangle that just encloses them all; and if you draw the occupancy with lines rather than a closed shape, the placer falls back to the rectangle enclosing those lines. Path objects are not used.
Many of the newer library parts and in particular the IPC-7351 standard footprint libraries come pre-supplied with occupancy definitions as per the IPC standards. The occupancy area corresponds to the component courtyard concept defined in IPC-7351.