Tutorial 4 : Using the Camera
This tutorial is written with the understanding that you have previously followed the Visual Designer tutorials 1 - 3. If you have not we would highly recommend that you do so first so you have an understanding of your way around Visual Designer and the Terminology that is used below.
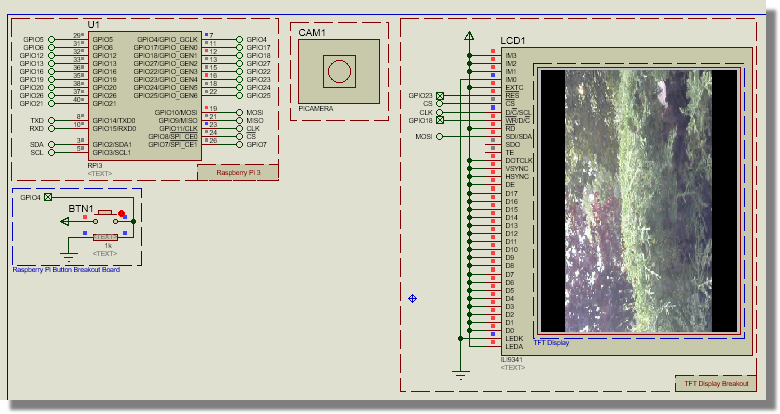
In this tutorial we will show you how to take a photo from your Web camera and show it on a TFT Display. Please insure that your camera device is connected and working before starting.
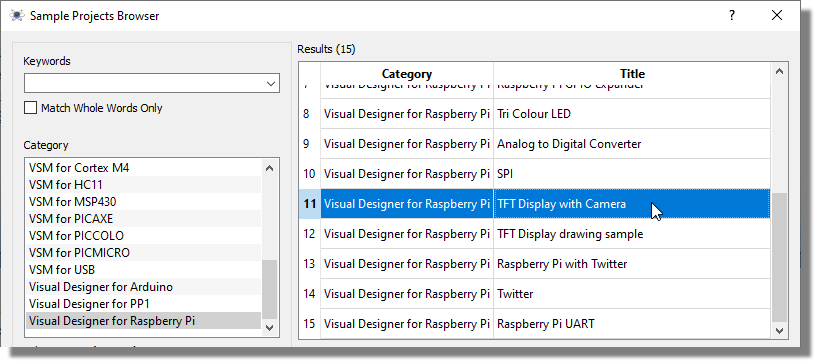
It may also be beneficiary to take a look at the Raspberry Pi TFT Sample project.
Adding the Peripherals
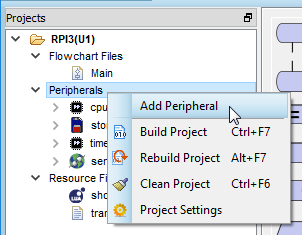
We need to add a TFT display to show the image, a Button to take the picture and lastly not least, the Camera peripheral. Right click on the Peripherals list on the left hand side and select Add peripherals:
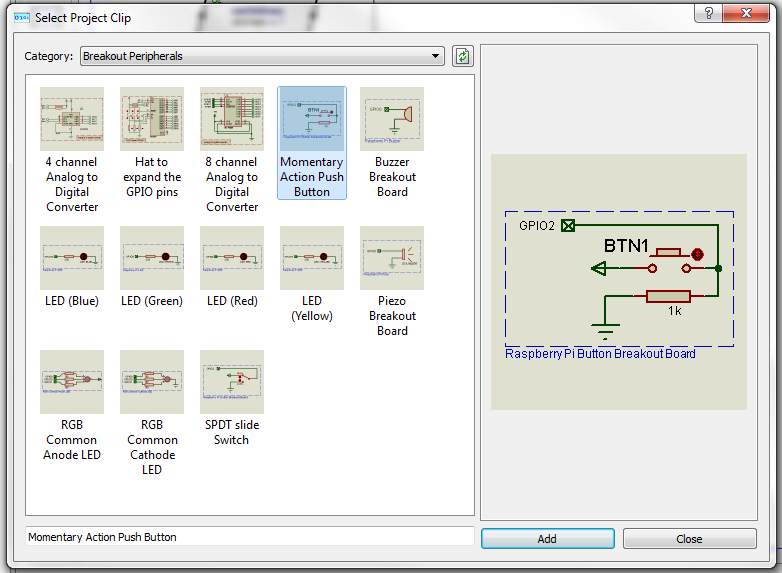
The Button is as in previous tutorials Breakout Boards > Momentary Action Push Button.
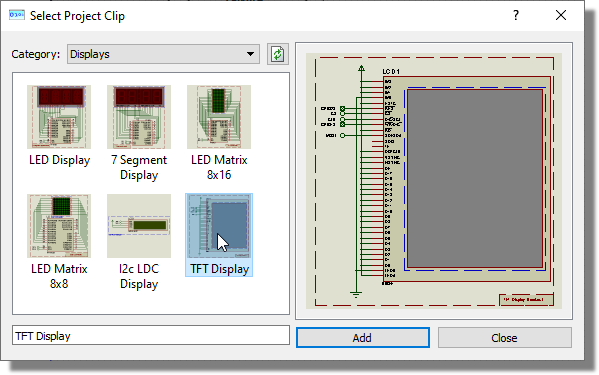
The TFT Display is found under the Displays drop down list in the Add Peripherals Dialog form:
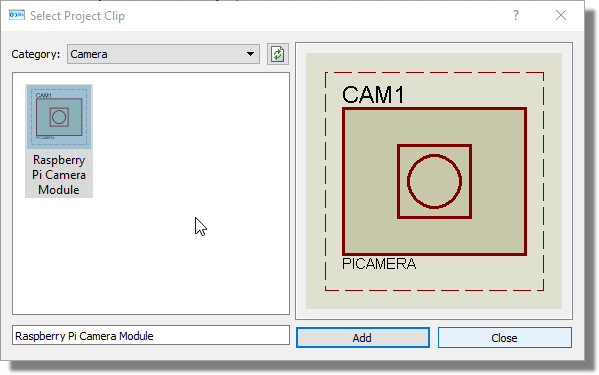
The Camera is found under Camera list.
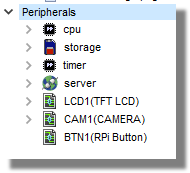
These will now appear in the list under Peripherals like so:
Writing the Program
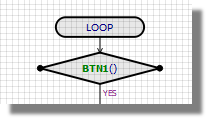
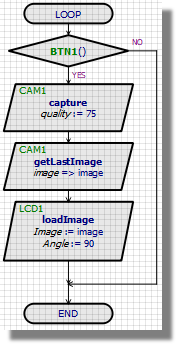
All Methods and Peripherals are be added to the LOOP Routine. There are four things that we want to do: 1. Push the button, 2. capture the image, 3. get the image and 4. display the image. Start by dragging the Button Peripheral in to the LOOP.
Next we need to capture the image. Under the Camera peripheral, drag the Capture Method in to the LOOP routine below the BTN1() peripheral.
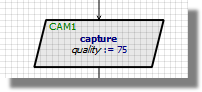
Now we need to 'get the image', and as we would like to get the image that was last taken, we need to add the getLastImage method. Drag this below the Capture method.
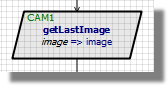
Note that this also adds a variable for the image name. In this case the default name is 'image' - physical image => image name.
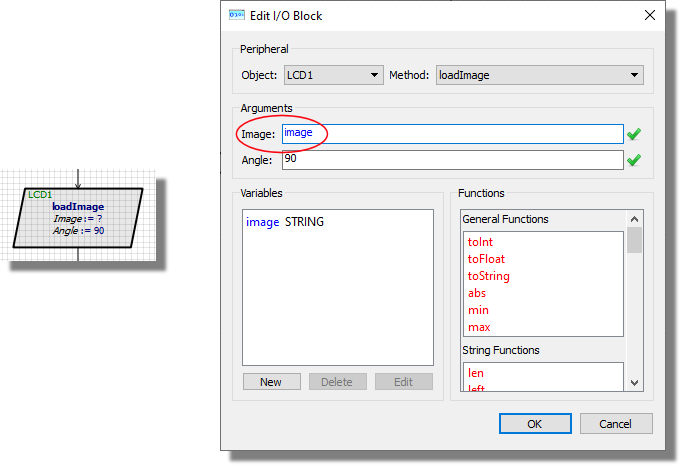
All that's left to do is load the image in to the TFT display. This is simply done by dragging the TFT 'loadImage' method from under the LCD1(TFT LCD) peripheral below the getLastImage method. You will need to edit the block and insert the image name. In this case as the default is image we type that in as seen below:
Draw a line from the right hand side of the BTN1 block to above the END block so that if the button is NOT pressed the loop will continue.
You project should now look something like this:
Press the Play button and take some Photos!