Tutorial 5 : Using Twitter
This tutorial is written with the understanding that you have previously followed the Visual Designer tutorials 1 - 4. If you have not we would highly recommend that you do so first so you have an understanding of your way around Visual Designer and the Terminology that is used below.
You will need a Twitter Developers account for this exercise. You can request one here: https://developer.twitter.com/en/apply-for-access.html Please be aware that it may take a few days before Twitter grant you your Developer account! (Ours was a matter of minutes...).
Please note that all Twitter Keys in this document are not real and have been randomly generated for illustration purposes only!
Creating an App in on Twitter
Make a new app. This should provide the required 4 keys. Click on Overview and then Create App. You do not need to make a Project.
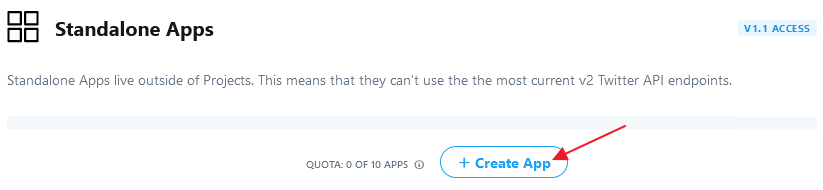
Make a name for your App (My_Proteus_App) and fill in any other required forms. Most of the entries can just be anything you can think of, it's just to get you through the form to get the App created!
Once you have created the App, you will be given some 'keys':
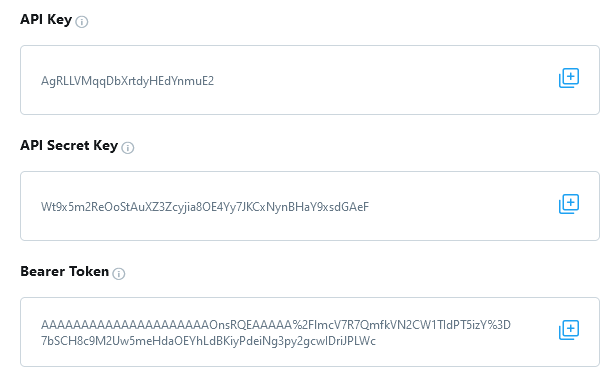
Copy the API Key and API Secret keys to a new file / somewhere safe.
Next we need to get 2 Access Tokens. Click on Get user Tokens:

Next to Access Token and Secret, click on Generate:

Now copy the two keys 'Access Token' & 'Access Token Secret' to the same place you saved the other API keys / safe location.
Setting up the Program
Having obtained the keys, you will need to write your program to tell Proteus what and how to tweet. Firstly you will need to enable the Twitter Peripheral on the left hand side:
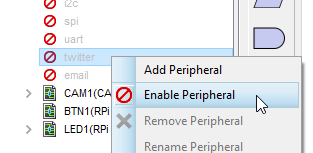
Next, Under the Setup routine, drag a Setup object under the Twitter peripheral on to the sheet:
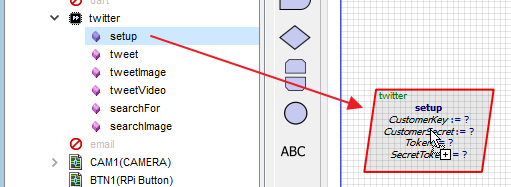
Now enter in the required keys from your Developers Twitter account as shown above.
- Customer Key = API Key.
- Customer Secret = API Secret Key.
- Token = Access Token.
- Secret Token = Secret Token.
Now we nee to draw the rest of the flowchart. Under the LOOP routine.
What we want to do is send a simple Tweet when a button is pressed.
Add a Button from the Peripherals Library:
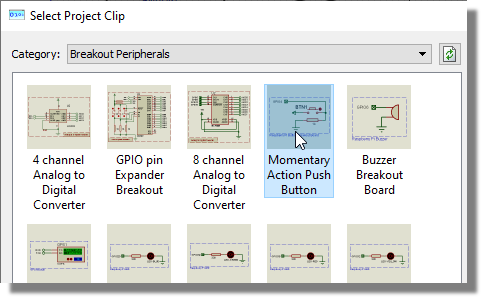
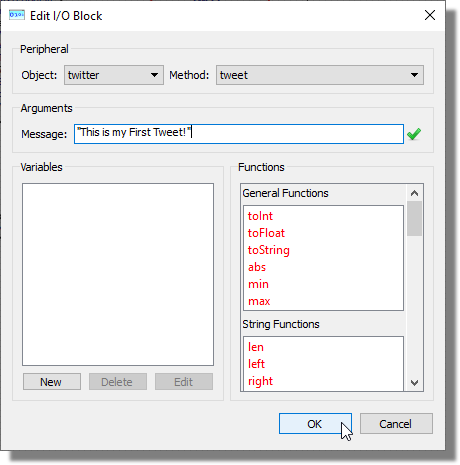
Add a Tweet Method. Edit the Tweet Method and enter in your message.
Your final flow chart should look something like this:
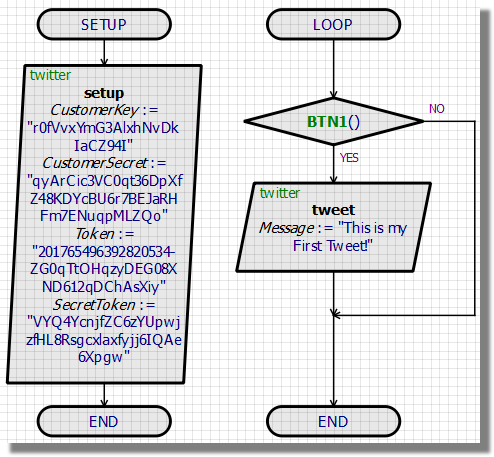
(Not real keys)
Compile and press the button. Then login to your Twitter account and you will see your message. It will be displayed as if you have sent it directly from twitter yourself.
Sending an image
This is for advanced users that will need to have followed the other tutorials first.
While sending a tweet is great, Proteus can also send images using the camera peripheral as well as search for tweets. Please take a look at our sample design by typing in 'Twitter' in the keywords field, or looking under Category 'Visual Designer for Raspberry Pi' and selecting the sample entitled Twitter.
Troubleshooting
If you get an error message that looks like:
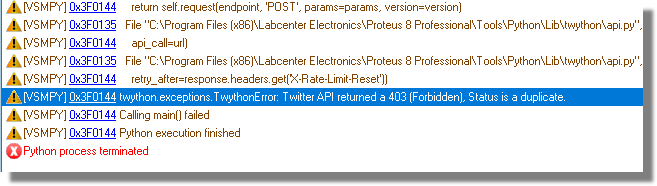
It will be because you have tried to send the same tweet twice, and twitter does not like this.