microPython Hardware
Introduction
Designing ‘virtual hardware’ for your project is greatly simplified in Visual Designer. The various options available to you when targeting a microPython board are described in detail below.
microPython Base Board
When creating a new project in Visual Designer, you can choose from several supported microPython-compatible boards. These include popular targets such as:
-
Raspberry Pi Pico
-
Raspberry Pi Pico W
-
ESP32-S3
-
Pyboard
-
Nano ESP32
Once selected, the base board is automatically placed on the schematic. This forms the foundation of your embedded design and determines which peripherals and programming features will be available.
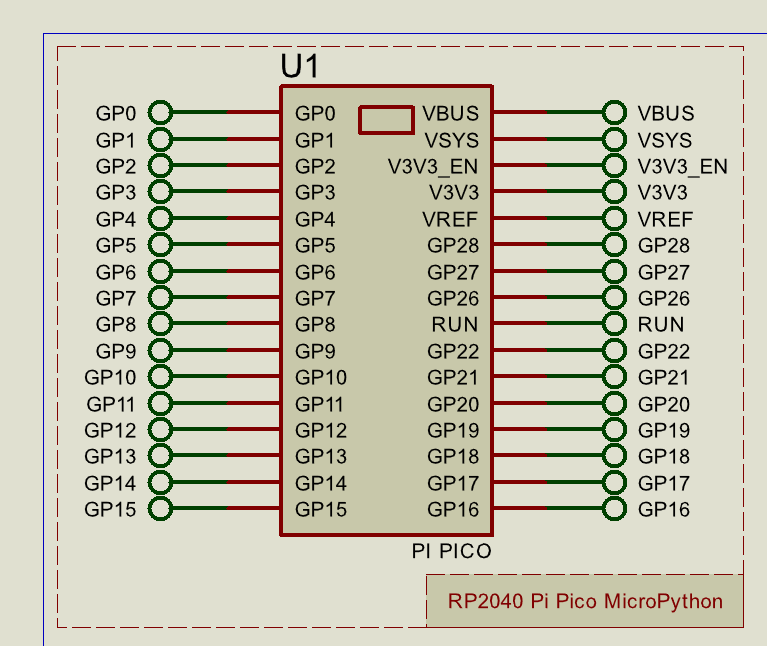
Automatic placement of the Pi Pico W on the schematic when the project is created.
microPython Peripherals and Models
Just like Arduino and Raspberry Pi platforms, Visual Designer supports a variety of external peripherals with high level driver methods when working with microPython. These include:
- Audio Devices
- Buttons and Switches
- Displays
- LED's
- Memory devices
- Motor Control
- Sensors
Adding Peripheral Hardware
You can add peripherals via the Project Tree by right-clicking and selecting Add Peripheral. Once added, the peripheral will be auto-connected on the schematic and will appear in the Project Tree with a set of high-level methods for use in your flowchart program.
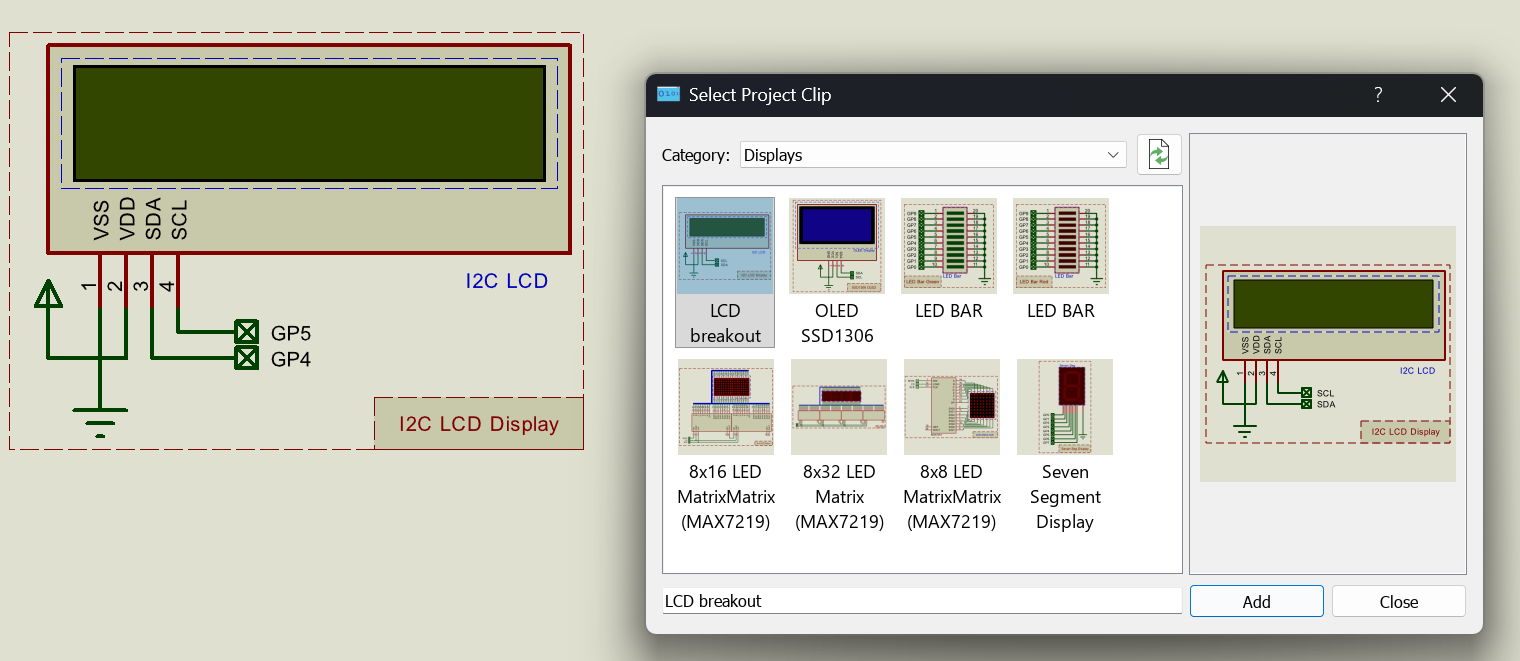
Adding a TFT Display to a Pi Pico W project in Visual Designer.
Writing a Program to Control a Peripheral
After adding a peripheral, its methods become available in the Project Tree under the corresponding hardware. These methods represent typical actions such as displaying text, controlling servos, or reading sensors.
You can simply drag and drop the desired method into your flowchart to control the peripheral without writing a single line of code.
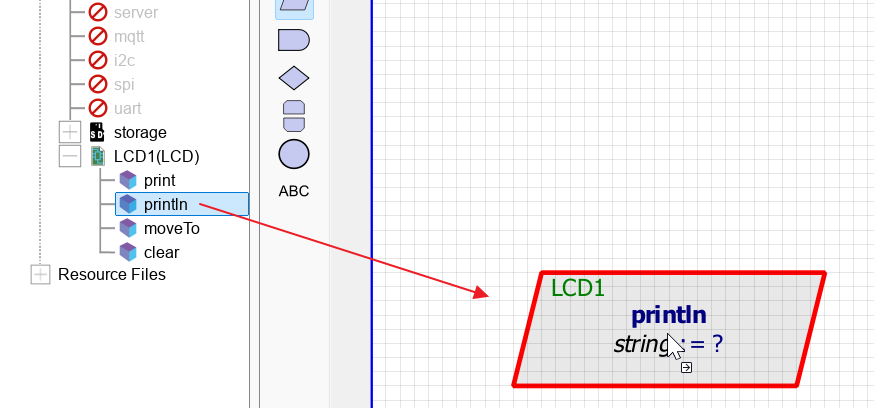
Drag and Drop methods make it easy to control hardware peripherals
Potential Pitfalls
When designing microPython-based projects, there are a few considerations to keep in mind:
-
Ensure your use of selected peripherals is compatible with the pinout and capabilities of the base board.
-
On platforms like ESP32, memory constraints may vary — avoid overloading the board with peripherals that demand large software stacks.
Schematic Design
With microPython-based projects in Visual Designer, you also have access to the full schematic editing and simulation power of the Proteus platform. This allows you to wire up real-world embedded systems using thousands of library components and then control them via flowchart blocks that manipulate GPIO and communication peripherals. This is the most flexible design method of all but involves a significantly higher learning curve. The programming in Visual Designer will have to be done via the CPU methods rather than specific methods for peripherals.
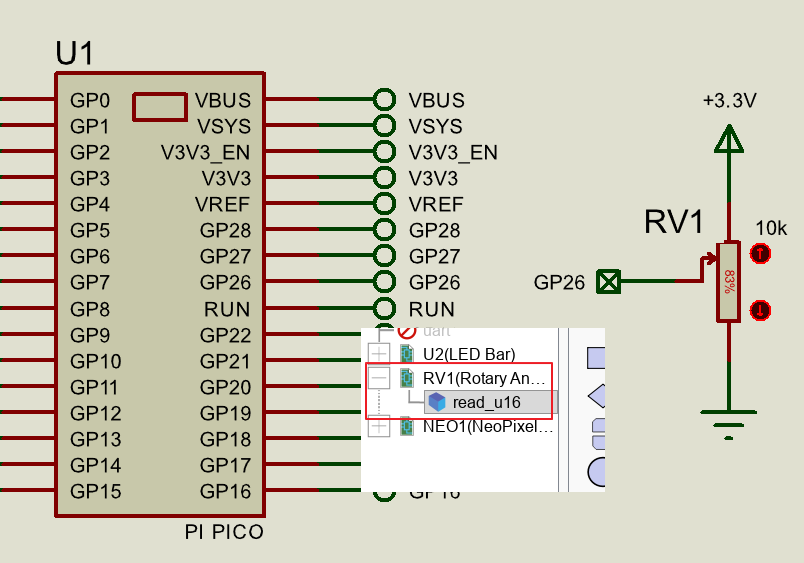
Picking devices with models and wiring directly onto the schematic
Once your components are placed and wired, you control them in software using flowchart blocks tied to the CPU peripheral methods available in the Project Tree.
Typical CPU methods available include:
-
pinMode,digitalWrite,digitalRead -
pwmSet,pwmStop -
input,print,millis
You simply drag and drop these methods into your flowchart and edit them to provide things like pin information (based on what pins you've wired up). You'll also find higher-level support for standard serial protocols which can be accessed from the relevant peripherals in the Project Tree and make it easier to drive real I2C, SPI, and UART-connected components — all without writing code.
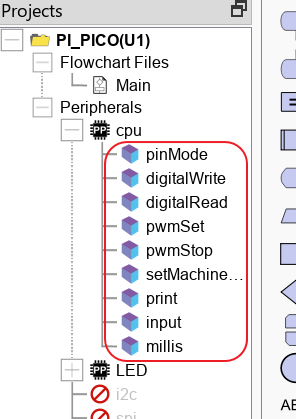
CPU & Peripheral Methods in the Project Tree
The I2C, SPI & UART Peripherals are disabled by default (unless a imported peripheral requires them). This saves space on the real hardware when programming. You can right click to enable a peripheral if you need support for it due to placing and wiring devices directly on the schematic.
Potential Pitfalls
Schematic design for simulation is a large and relatively complex topic. In addition to the basic of placement and connectivity there will also be power considerations and you will need to program for interconnect protocols where appropriate. At this stage, the transition from Visual Designer to Proteus VSM should be considered as there is a point beyond which actual microPython programming is required to effectively design the embedded system.