PROPERTY EDITOR EXAMPLES
Creating, Editing and Applying User Data
This topic is a set of practical examples that includes most common usage scenarios with the Property Editor. It covers the creation of new properties, the editing and assigning of data and the configuration of the Bill of Materials Report.
See Also:
Properties and Property Editing
Adding a Property to the Grid
When you want to include additional information about your design in the BOM report you do so by adding/creating new properties for the parts on the schematic and then displaying their values as fields in the Bill of Materials.
To add a property to the grid
At the left of the BOM module click on the Add Button underneath Fields.
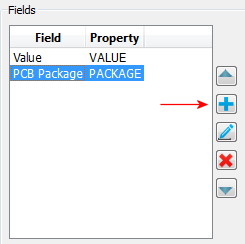
Select the property that you want to add from the drop down list. If the property you want does not already exist you can use the New button to create one.
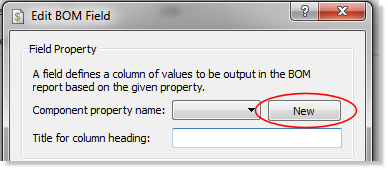
If you create a new one a secondary dialogue appears in which you need to provide information about the property.
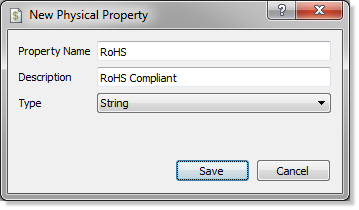
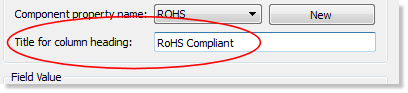
Enter a title for the column heading. This is the visible description of the data that will be shown in the Bill of Materials Report.
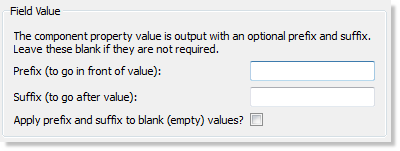
The next set of options allows the automatic addition of a prefix and or a suffix. Prefixes would commonly be currency symbols ($,£) and suffixes might be units of measurement. Neither is relevant for our RoHS example so we'll leave blank.
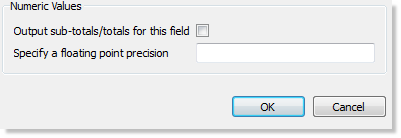
The final set of options enables automatic sub-totals and totals for the field. The obvious candidate for this would be a unit cost property but again it's not relevant to our current example so we'll leave it blank.
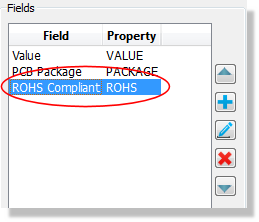
When we exit the dialogue form we'll see the field appear on the list and as a column on the grid.
Components on the schematic which have a property called ROHS will now show the value of that property in the Bill of Materials. If you have created a new property above or components have do not have a value for this property then you need to populate the column with data.
Adding Data to the Grid
Assuming that you created the RoHS property as above the chances are very good that the column is empty in the Property Editor grid. Remember that the grid display reads the property values from the schematic and lets you put values back into the schematic.
To set a value for a component
Use the non-editable properties at the left (Category, Ref, Value) to identify the component that you want to assign the value to. You may find it useful to split the BOM tab off from the ISIS tab (drag and drop) so that you can refer to the schematic.
Left click on the column you wish to assign the value to and select or enter the value for that part.
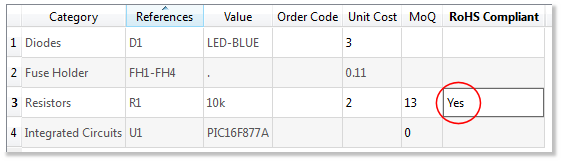
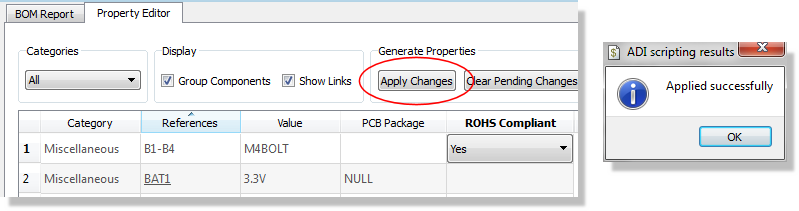
Click on Apply Changes at the top to commit the property assignment to the schematic part. You will see a confirmation dialogue when changes have been applied - this may take a few seconds depending on size of schematic and number of changes.
That's it. If you edit the component on the schematic you will see the property and it's value and if you look at the HTML View you will see the information in the Bill of Materials report.
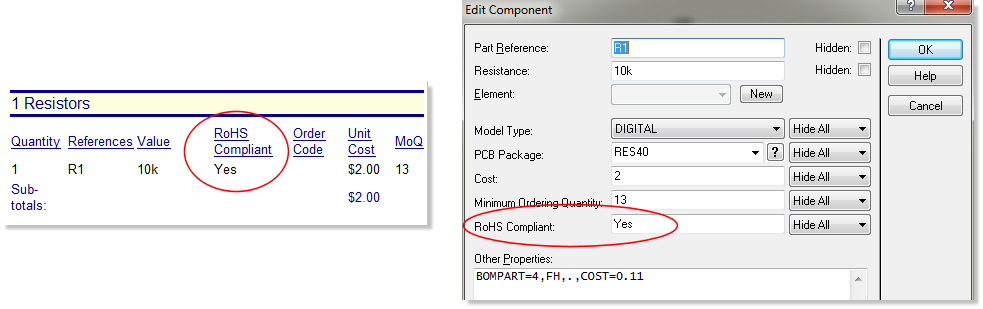
It is worth pointing out that the exact same effect could have been achieved by running Make Device on the component in ISIS, adding an RoHS property and then manually assigning a value inside the Edit Component dialogue form. Changing the RoHS value on the schematic part will update the Bill of Materials report and changing the RoHS value in the Property Editor (as above) will update the schematic part.
To set a value for a group of components
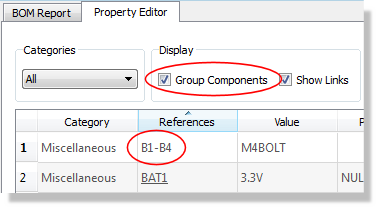
The first task here is to identify the group of components. If they have identical properties it will be done by default as the group components checkbox will be selected. You can then add a value as above and it will apply to all components in the group
If you want to add a value to a category of components then you can re-order the grid first by clicking on the Category column. This will group the grid by category and allow you to quickly assign sequentially. The easiest way to do this is as follows:
Left click on the field you wish to edit, and assign a property exactly as before. In this case we wish to assign YES to the RoHS field for all the resistors that have been added.
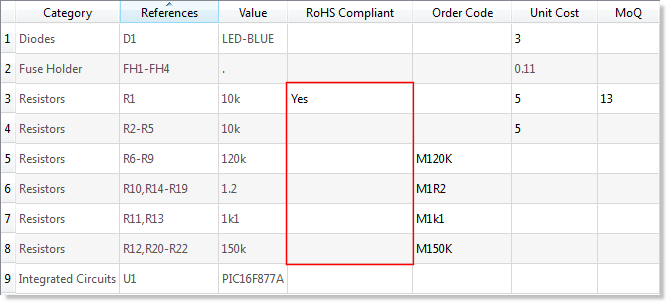
Left depress the mouse on the sYes' field and drag it down (the cursor will change) to assign the same value to other grid squares in the column. Release the left mouse button when you are finished. This works exactly like MS Excel.
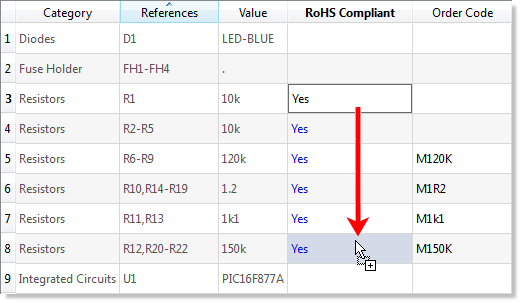
Click on Apply Changes to pass the data back to all of the affected schematic parts.
To set a value for all components
Since we are applying the value to all components, we don't need to worry about groupings or ordering. There are two easy ways to do this. If the column is currently blank you can launch the find/replace dialogue and replace with your value:
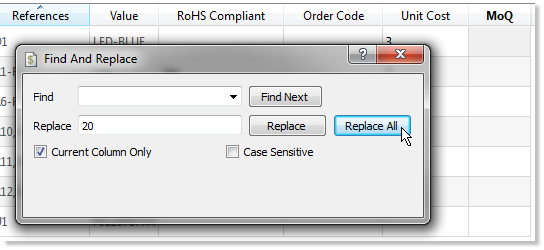
Remember to limit the replace to the current column.
If you already have several values in the column then simply go to the top of the report and use the technique described above to set for all the components.
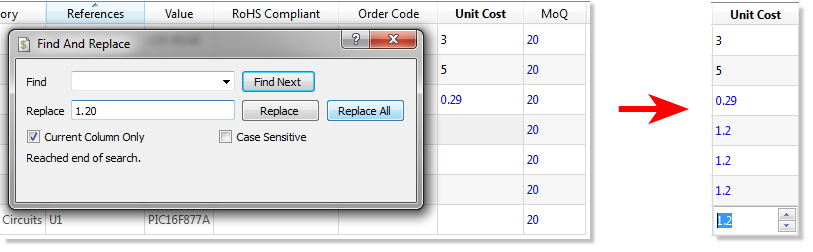
Finally, click on Apply Changes to store the results and pass the data back to all of the affected schematic parts.
To clear a value or set of values
Clearing a value or set of values works in reverse to setting them. The fastest way is to use the find/replace dialogue with the replace value as blank.
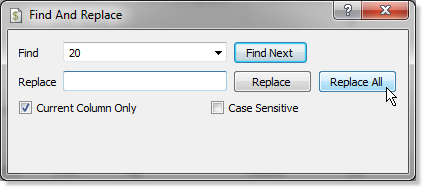
If that doesn't suit you will need to first group manually clear a value and then drag up/down to clear the other values in the group. This works exactly like MS Excel and is detailed in a previous example above.
Controlling the BOM from the Schematic
If you need one component to contribute more than one entry in the Bill of Materials report or you don't want a component on the schematic to contribute to the BOM then you need to edit the schematic part directly.
To add parts to a component in the BOM
Go to the Property Editor in the Bill of Materials and click on the new button at the top right.
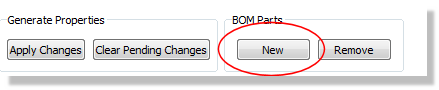
Specify the parent part as TR1 and fill out the other fields as required.
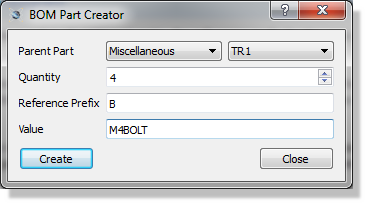
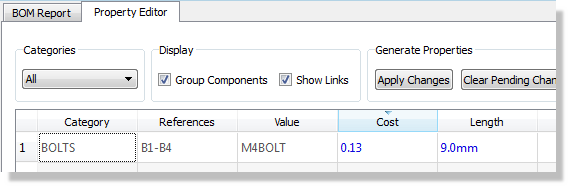
Note that, if we want the cost or the length to be shown in the Bill of Materials then we would have to add a field for COST and/or LENGTH. Similarly If we want to group the bolts in their own category then we would need to add a category for reference BL. The end result in the BOM would then look something like the following:
To specify a component as not present in the BOM
To remove a part from a version of the design you need to create an assembly variant. Start by launching the design explorer module and then create the variant from the Variant Menu.

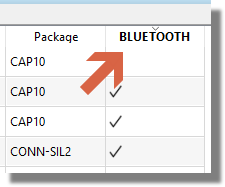
Once created, a variant will be listed in a new column in the Design Explorer and each component in the design will have either a tick or cross to indicate whether the part is fitted or not fitted in that variant.
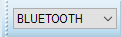
The variant that you have created will be available for selection in the variant toolbar. This combo-box is system global so switching to a different variant will affect various parts of the software (schematic, 3D Viewer, BOM, etc.)
You can remove a part from a particular variant by either :
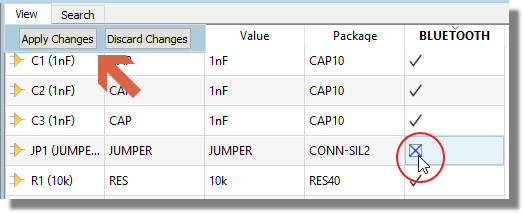
1) Clicking on it's entry in the variant column of design explorer to change to a cross and then clicking on Apply Changes.
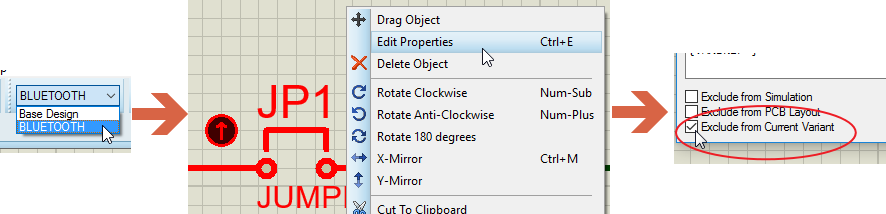
2) Switching to the variant in the variant toolbar and then editing the part on the schematic and selecting the 'Remove from Active Variant' checkbox.
If you then want to add a part back into a variant simply repeat the process in reverse.
Parts that are not present in the active variant are indicated with a cross in the column in design explorer and their part reference is greyed out on the schematic
You cannot remove a part from the base design.
Using Links in the BOM
To add a link to the Suppliers Website
If you don't have a property for Supplier then add one.
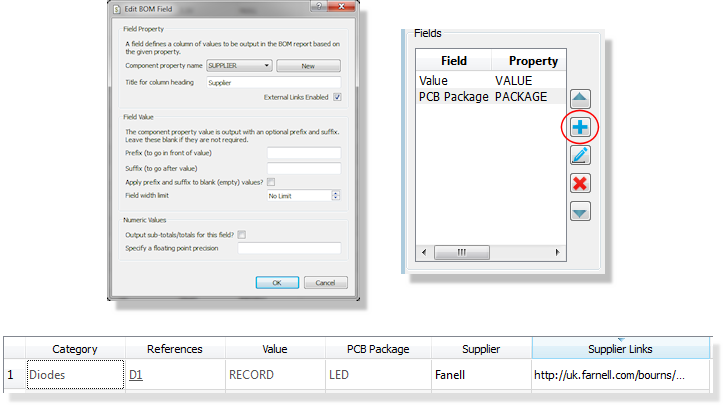
Use the techniques described in Adding Data to the Grid to populate the column with Supplier information.
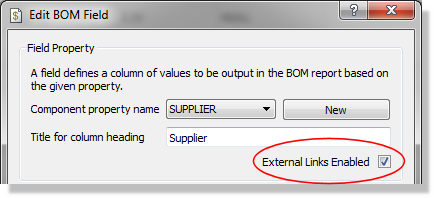
Select the Field in the control panel, click on the edit button and make sure that the External Links Enabled check box is selected.
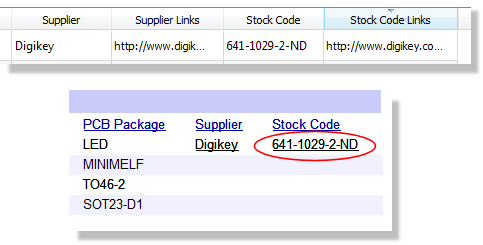
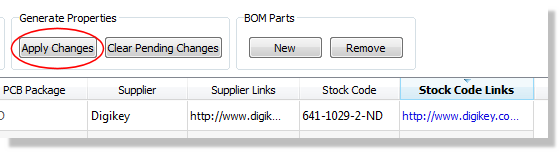
If the Show Links checkbox at the top is selected you will now see an additional column for Supplier Links. Populate this in the usual way and then click Apply Changes to commit.

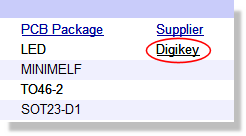
You can then click on the links either in the BOM Report view or on the PDF output.
To add a purchase link to a stockcode
Select the stockcode field, click on the edit button and select the External Links Enabled checkbox.
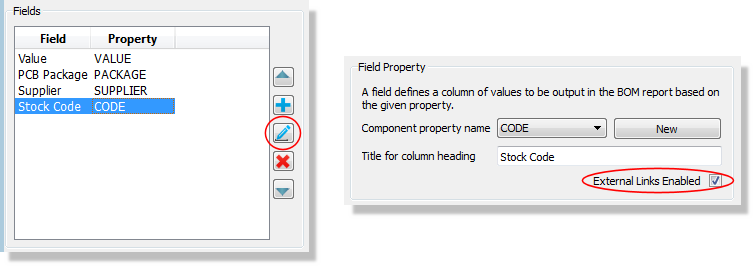
Copy and paste the direct link from the address bar of the purchasers website into the field and click on Apply Changes to commit.
You can then click on the links either in the BOM Report view or on the PDF output.