COMPATIBLE HARDWARE
Introduction
IoT Builder is designed to work with various pre-made hardware boards. The setup , configuration and programming requirements are dependant on your choice of hardware. Specifically, we support:
- Raspberry Pi 4
- Raspberry Pi 3 / Raspberry Pi Zero
- Arduino Yun / Seeeduino Cloud
- Proteus Playkit
- Arduino Uno plus ESP8266 (in the from of WeMOS D1)
- MicroPython boards (Raspberry Pico W, ESP32 / ESP32-S3, Nano ESP32)
Choosing a Target / Getting Started.
When you create an IoT builder project from the New Project Wizard on the home page you need to specify the target hardware. The process is simple but varies slightly according to target. More information on each target is given below.
Raspberry Pi 3 & Raspberry Pi Zero
Raspberry Pi 3
From the homepage select new flowchart project and specify Raspberry Pi 3 as the target.
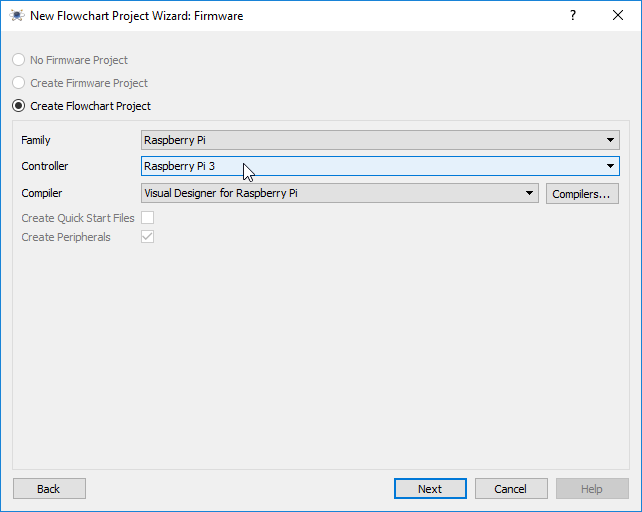
New Project wizard when creating a Raspberry Pi 3 Project
Raspberry Pi Zero
From the homepage select new flowchart project and specify Raspberry Pi Zero as the target.
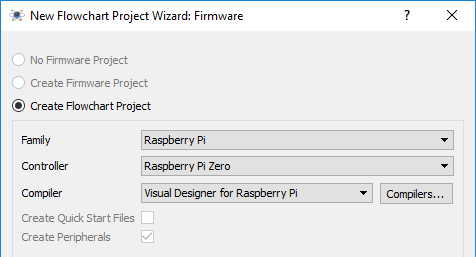
New Project wizard when creating a Raspberry Pi Zero Project
Arduino Yun & Seeeduino Cloud
Arduino Yun
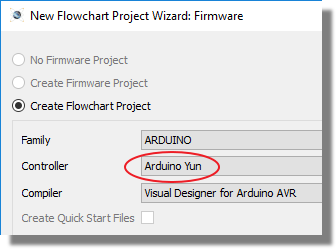
From the homepage select new flowchart project and specify Arduino Yun as the target.
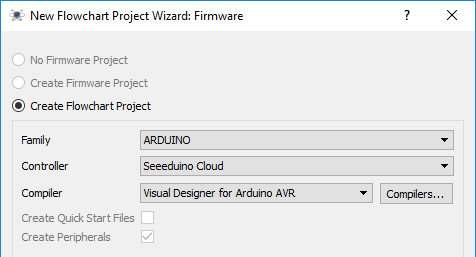
Seeduino Cloud
From the homepage select new flowchart project and specify Seeeduino Cloud as the target.
Proteus Playkit (Ready made ESP8266 + Uno)
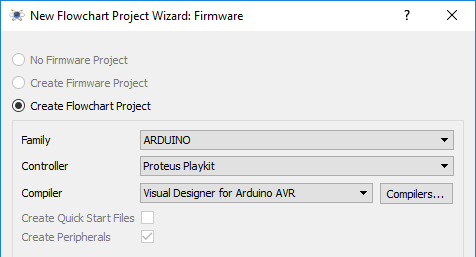
From the homepage select new flowchart project and specify Proteus Playkit as the target.
See Also:
Arduino Yun Shield
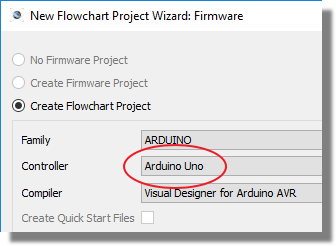
From the homepage select new flowchart project and specify either Arduino Uno or Arduino Mega as the target
In the flowchart module select Add Peripheral from the Project menu, navigate to Internet of Things Peripherals and add the Yun shield.
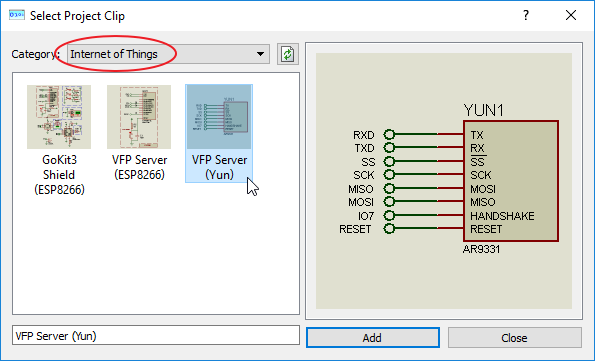
Using an Arduino Yun baseboard is simpler but the Yun shield or ESP8266 tends to have better wifi and allows you to couple to a Mega which has more program ROM.
Arduino Uno/Mega + ESP8266
Our support for ESP8266 is based on the Proteus Playkit. You can set up and configure other ESP8266 such as the WeMOS D1 however be advised that the configuration required to make this work is extensive and not for beginners ! Proteus playkit provides an inexpensive ready made alternative.
From the homepage select new flowchart project and specify either Arduino Uno or Arduino Mega as the target
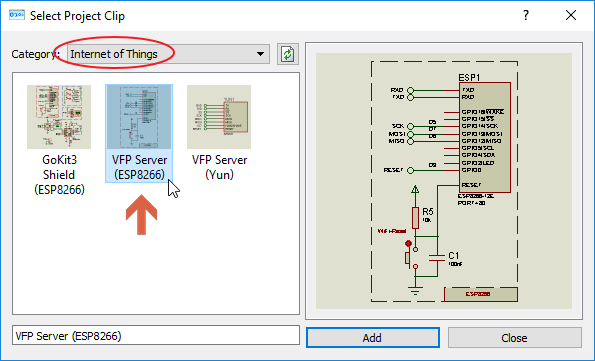
In the flowchart module select Add Peripheral from the Project menu, navigate to Internet of Things Peripherals and add the ESP8266
See Also:
Building and Using an ESP8266 Server with IoT Builder
MicroPython Boards (Pico / ESP32 / Pyboard)
From the homepage select New Flowchart Project and set the Family to MicroPython. Choose a target such as PI PICO W, ESP32-S3 / DEVKITC-1 or NANO ESP32. create the project, then add peripherals from the gallery. Panels and network controls are designed in the same way as other IoT Builder targets. When running in simulation, the Proteus mobile app discovers and connects to your appliance on the local network for live interaction
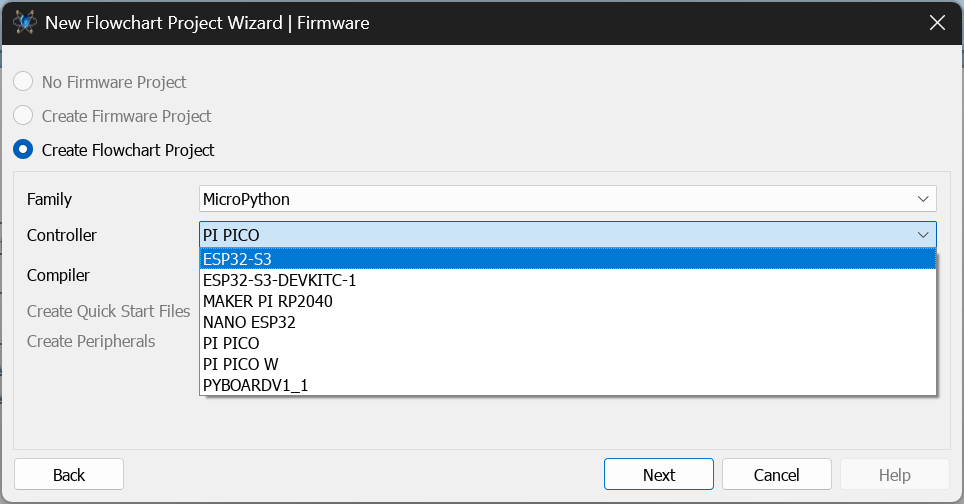
Pico W and ESP32 boards include Wi-Fi, making them ideal for IoT Builder panels and mobile app control during simulation and after deployment.
Programming the Target
You'll find information on configuration and programming the various targets via the link below:
See Also: