TUTORIAL
Introduction
This tutorial will aim to provide a general walkthrough of adding content to a Project Notes document. It is assumed that the user is familiar with general word processing techniques and these are therefore outside the scope of the tutorial.
This tutorial is based on a single board project. The principles are fairly similar for multi-board projects but more specific information can be found in this topic.
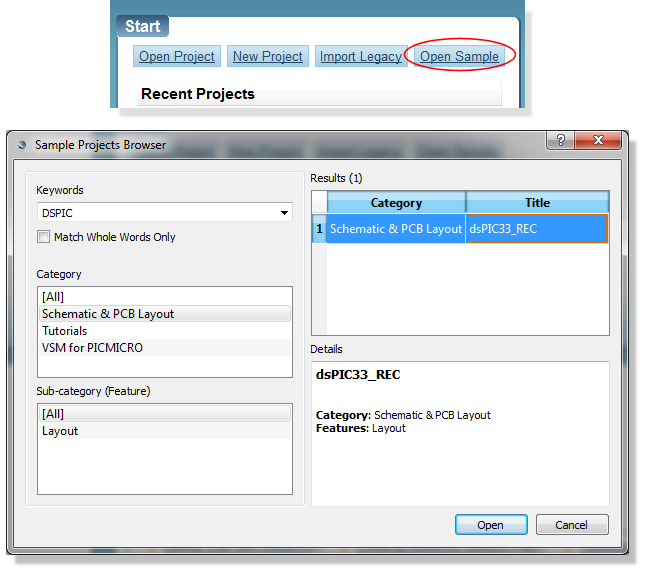
Start by opening the dspic33 data recorder sample project.
Setting up the Project Notes Document
Let's assume we want to create a Revision History notes document for our project. Start by clicking on the Project Notes icon to launch the application module and you will be presented with the New from Template dialogue as shown below.
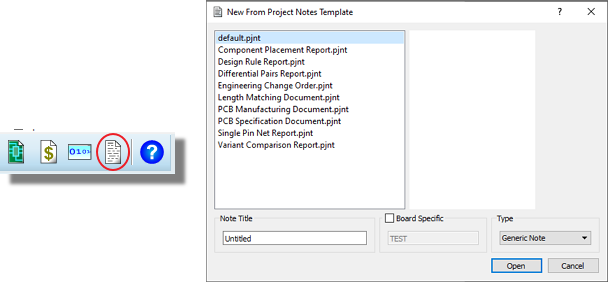
This dialogue can also be launched from the File Menu any time you want to create additional documents
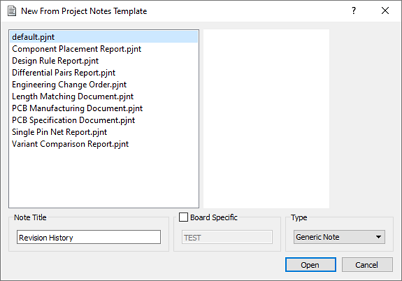
Since we are creating our own content, select the default template. This will give us blank document with some skeleton styles. Now, give the document a title (e.g. Revision History) and make sure type Generic is selected. Finally, click OK to open the document.
See Also:
The available styles for typing are on the right hand side while in editing mode but not when in read-only mode. You can switch between modes by toggling the padlock icon on the toolbar at the top but for now, make sure you are in editing mode.
See Also:
Adding Content
Adding the content is then as simple as selecting the style you want and typing. For example, double click on Heading 1 at the right hand side and then type a title for the document.
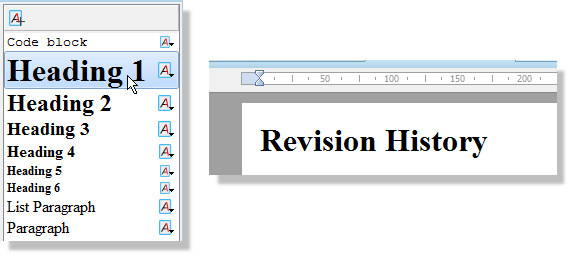
Next, double click on Heading 3 to switch styles and then type in a few sub-headings corresponding to topics you might want to note info about in a revision.
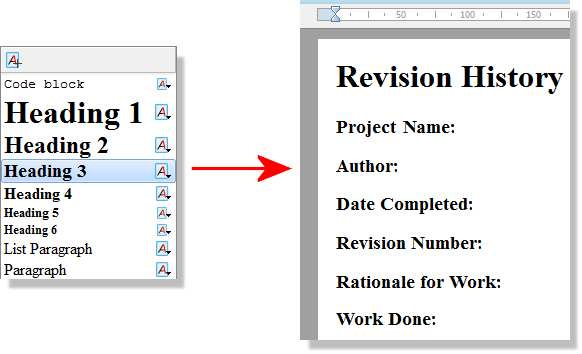
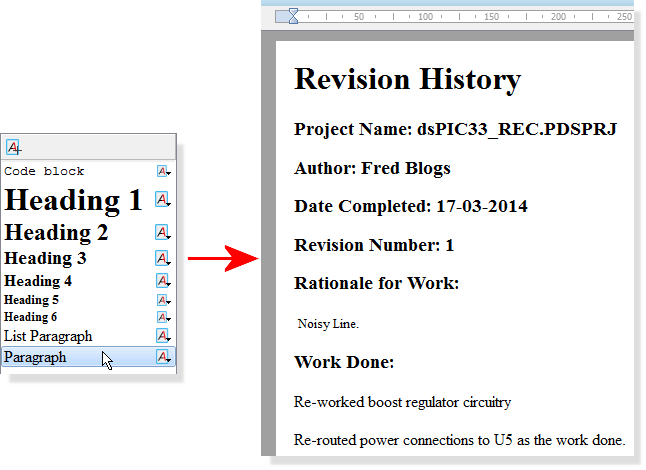
Finally, select paragraph style and enter the content.
Styling Content
Now let's look at how we can control the presentation of the content.
Editing Styles
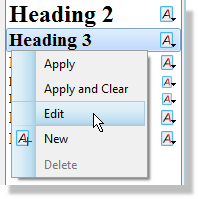
Right click on the heading 3 style in the control panel and select the Edit command from the resulting context menu.
Now we can change the font to something a little more prominent and underline the headings. The document will live update with style changes so you can easily see the effect of any changes you make.
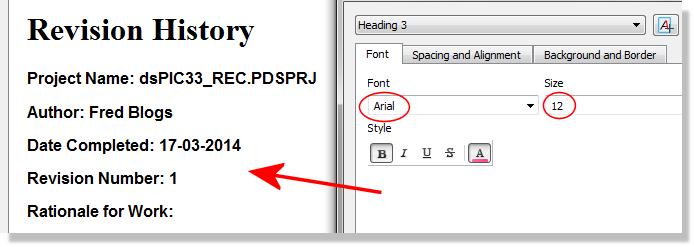
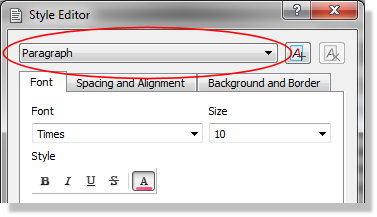
Use the combo at the top to switch the style to paragraph and then drop the font size a little.
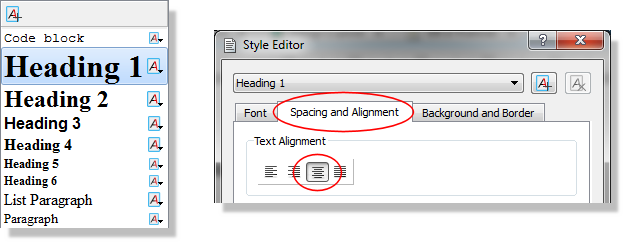
Finally, switch to Heading 1 style and center the title on the page.
New Styles
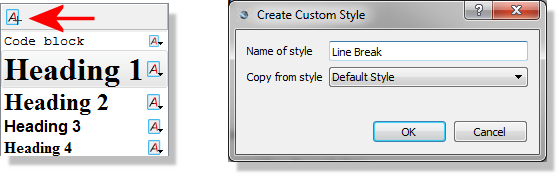
You can also create new styles from this dialogue. For example, click on the button at the top right to create a new style and call it 'linebreak'.
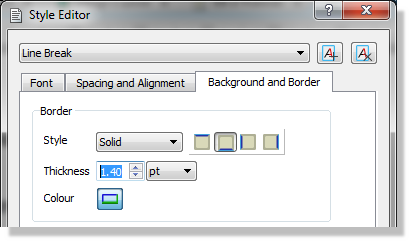
Now switch to the background and border tab and give it a solid underline.
Since this is a separator it would make sense to have a little extra spacing between paragraphs. Switch to the spacing and alignment tab and bump the top and bottom margins.
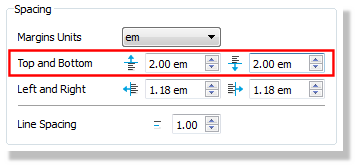
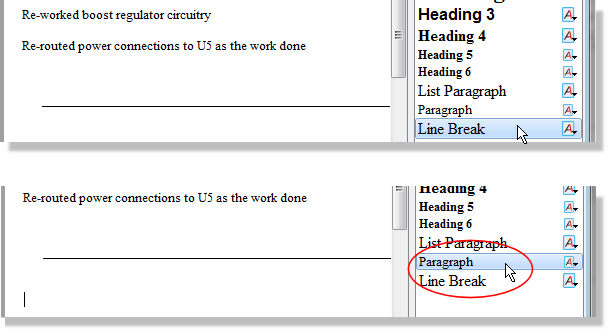
If you now exit the styling dialogue you will see the new style on the control panel at the right. Move to a new line at the bottom of the content and select the underline style to apply. Hit the enter button to add another new line and then click on the paragraph style to switch styles back.
List Styles
Finally, we probably also want to tidy up our earlier content entry into a numbered list of actions. We do this by putting the list items on individual lines, selecting the list and then using the number button on the toolbar at the top to convert into a list.

Styling commands and the styling dialogue is much the same as you will find on a word processing application.
See Also:
Linking Content
There are several ways in which we can link our content with other parts of the document and indeed with other parts of the Proteus project.
Bookmarks
Bookmarks let us link to points of interest inside the document and notably enable easy creation of a table of contents. Start by adding another revision block underneath our separator (copy and paste the existing one).
Next, position the mouse at the beginning of the Revision Number heading line of the first block and click on the Insert Bookmark button on the toolbar.

Type 'Rev1' as the text and hit OK to commit.

You should now see a little flag indicator at the left hand side of the text, indicating that the bookmark is in place. This flag is visual only and will not appear in any output.

Repeat the process and add a bookmark to Revision Number 2, naming the bookmark 'Rev2' this time.

Now add a new heading for Table of Contents near the top of the page and start a bulleted list.

Select the text, right click and launch the link dialogue form.

For a hyperlink, simply select the text you require to be linked, set the Link Type to be external, and type the web address in the Address field.
Choose internal link type and then associate with the appropriate bookmark.

Repeat for the next revision to complete the table of contents.
When you are in editing mode you can navigate to a link by holding the CTRL button down and left clicking on the link. When in read only mode, or in the PDF output, bookmark links will navigate on a left click.
Internal Links
We can also add links to components on the schematic or to footprints on the layout. For example, in our first revision we reworked the circuitry around the MAX1724 converter. If we go back to that text we could select the boost regulator phrase, and insert a Proteus link to U5 on the schematic.

We could also highlight U5 in the text and insert a live Proteus link - this time to the layout. A live link forces the text to be the same as the link and will update if the link changes due to re-annotation.

In editing mode you can navigate a Proteus link by holding the CTRL button down and left clicking on the link. When in read only mode Proteus links will navigate on a left click. Proteus links are not exported in the PDF output.
Field Codes
Field codes are a common idea in word processing and allow you to quickly enter a date or the document author. Project Notes contains these field codes and also allows access to the design properties as field codes. Start by launching the Design Properties in ISIS under the Design Menu and enter your name as the Author.

Next, in Project Notes, go to the Author entry of our revision, right click and insert the author field code.

Adding Images
It is often useful to include pictures, particularly for a revision history where before and after screenshots can make clear what changes have been made. For now, we'll simply add a layout image of the layout after the mods have been made.
Switch to (or open) the layout module, enter selection mode and draw a small tagbox around the circuitry being worked on.
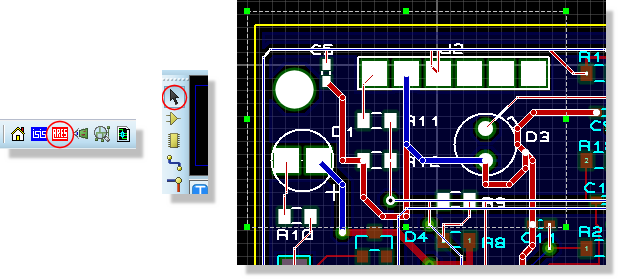
Right click and copy to clipboard.
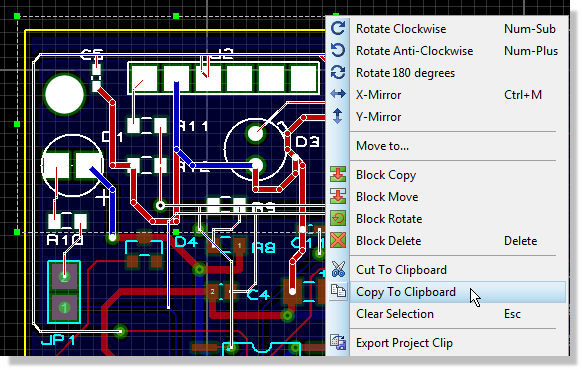
Switch back to project notes, click on a new line underneath work done and paste the image from the clipboard.
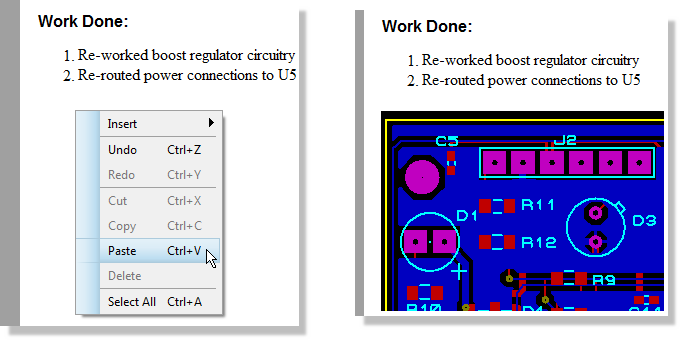
Finally, resize the image as required.
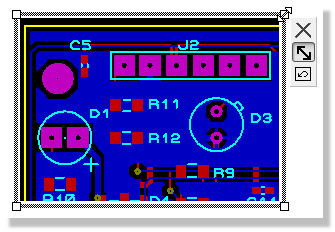
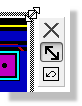
By default the aspect ratio of the image is preserved but you can unlock this via the control icons that appear when the mouse is hovered over the image.
The captured image is clipped at the bounds of the selection box so tracks (or wires) that route outside the box are snipped at that point.
Saving as Template
Revision history is quite likely to be something that would be useful in other projects so we'll save it as a Template for re-use. Ideally, we should first strip out the content that is specific to this project, leaving the headings and field-codes in place.
Next, we should check that the Title and Type are correct via the Note Title command from the File Menu.
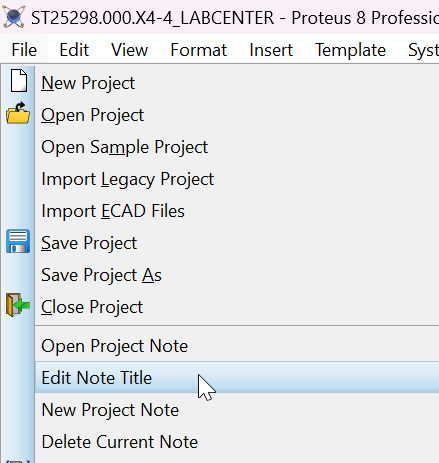
The general rule for Note types is :
- Generic Notes : Can have as many as you like in a Project.
- BOM Notes : Can have only one in a Project - can be appended to the BOM Report PDF.
- Manufacturing Notes: Can have only one in a Project - can be added to the CADCAM Output fileset.
More information can be found here.
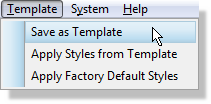
With title Revision History and type as Generic we can go ahead and Save as Template via the command on the Template menu.
Storage and Output
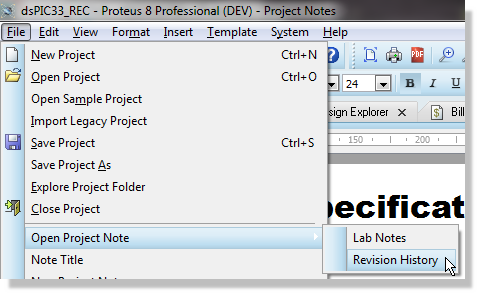
By default, all Project Notes are stored in the Proteus project file (*.PDSPRJ). You can only have one open at a time and can switch between notes via the command on the File Menu.
Project Note Templates are stored in the Templates directory of your Proteus installation.
Any Project Note can be output or printed via the normal toolbar commands, but Manufaucturing Notes and BOM Notes can also be output/appended to their relevant files.
See Also: